
Last Updated on December 7, 2023 by Sharon Advik
Today, I want to dive into a crucial aspect of photography that often leaves beginners scratching their heads – Exposure Compensation.
Trust me, I get it – the jargon can be a bit overwhelming, but fear not because I’m here to break it down for you in simple terms.
So, what exactly is Exposure Compensation, you ask?
Think of it as your secret weapon for achieving that perfect shot, especially when your camera’s automatic settings don’t quite hit the mark.
Simply, it’s your way of telling the camera to adjust its exposure settings, brightening or darkening your photo to match your creative vision.
Now, let’s talk about when to use it. Imagine you’re capturing a stunning sunset, and your camera’s auto mode turns your masterpiece into a dull scene.
This is where Exposure Compensation steps in.
You can dial in a positive value (‘+’) to make those warm hues pop, giving your photo the vibrancy it deserves.
On the flip side, if you’re shooting a snowy landscape and the camera is getting a bit too excited, making everything look gray instead of pristine white, a negative value (‘-’) will come to your rescue.
So, how do you use Exposure Compensation? It’s simpler than adjusting the focus.
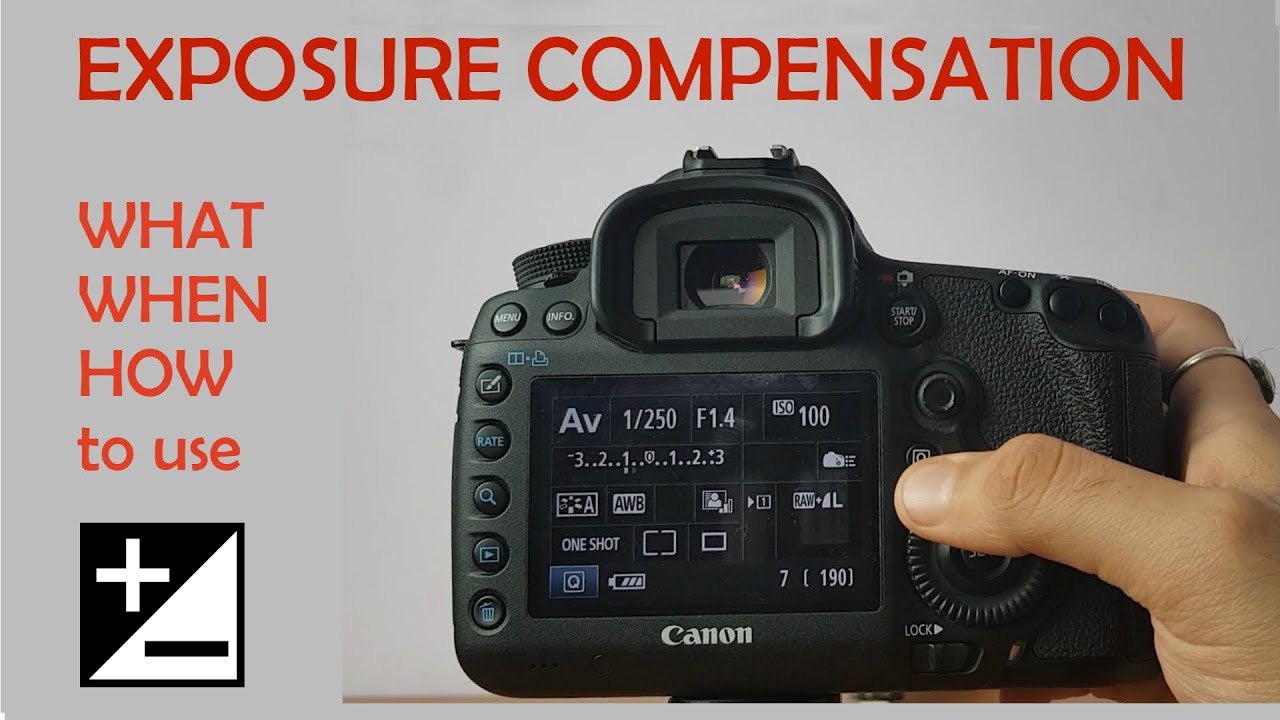
On your camera, look for a button labeled ‘EV’ or ‘Exposure,’ often accompanied by a dial.
When you’re ready to move, turn the dial towards the positive or negative values until you see the desired exposure compensation level on your screen. Easy peasy, right?
What is Exposure Compensation, and How do you use it?
First off, don’t be afraid to experiment.
Play Exposure Compensation in different lighting conditions to see its magic unfold.
Practice makes perfect, my friends. Secondly, keep an eye on your camera’s metering mode.
If your subject is backlit, the camera might get a bit confused. In such cases, a positive exposure compensation can be your knight in shining armor.
Remember, fellow photographers, Exposure Compensation is your ally in the quest for that jaw-dropping shot. Embrace it, master it, and watch your photography skills soar.
How to Use Exposure Compensation?
I will share a handy tip with you that can truly elevate your photography game: exposure compensation.
It might sound technical, but trust me, it’s a game-changer once you get the hang of it.
So, what exactly is exposure compensation, and why should you care?
Well, imagine this scenario: you’re out and about, capturing some stunning shots, and suddenly, you notice your photos turning out too dark or bright.
Fret not, my friend, because exposure compensation is here to rescue your shots.
Let me break it down for you.
Exposure compensation is like having a secret weapon in your camera. It allows you to manually adjust the exposure settings, compensating for tricky lighting situations.
In simpler terms, it helps you get that perfect balance of light and shadows, ensuring your photos look just how you want them to.
Now, let’s get practical.
Here’s how you can use exposure compensation like a pro:
1. Understand Your Camera’s Metering Modes:
First things first, familiarize yourself with your camera’s metering modes. Most cameras have evaluative, spot, and center-weighted metering. Experiment with these modes to see how your camera meters light in different situations.
2. Identify Tricky Lighting Conditions:
Watch for situations where the lighting might fool your camera’s built-in meter. High-contrast scenes, backlit subjects, or scenes with predominantly dark or light tones can be challenging.
3. Dial in the Compensation:
Once you’ve identified a tricky lighting situation, it’s time to take control. Use the exposure compensation dial on your camera to make adjustments. If your photo is too dark, dial in positive compensation (‘+’); if it’s too bright, go for negative compensation (‘-’).
4. Bracketing for Safety:
When in doubt, bracketing is your safety net. Take multiple shots at different exposure compensation values to ensure you capture the scene perfectly. This is especially useful in unpredictable lighting conditions.
5. Review and Adjust:
After taking a shot, review it on your camera’s LCD screen. Don’t be afraid to make further adjustments if needed. Remember, practice makes perfect, so keep experimenting until you get the desired results.
6. Stay Mindful of White Balance:
Exposure compensation primarily deals with brightness, but remember that it can subtly affect the color tones in your photos. If you notice a color shift, adjust your white balance accordingly.
So, there you have it – exposure compensation demystified! As a fellow photographer, I can assure you that mastering this technique will give you more creative control over your images. Don’t be afraid to play around with it and discover how it can enhance your photography skills.
How Exposure Compensation Works:
I wish someone had explained to me when I first started capturing moments through my lens – exposure compensation.
If you’re a beginner like I once was, you might be scratching your head when faced with varying lighting conditions.
That’s where exposure compensation comes in; it’s a game-changer.
So, let’s break it down in simple terms.
Exposure compensation is like having a secret weapon in your photography arsenal, especially when your camera’s auto mode isn’t quite getting it right.
You know those times when you snap a photo, and it turns out darker or brighter than you envisioned?
That’s where the magic of exposure compensation unfolds.
Imagine you’re at a beautiful sunset and want to capture the warm hues of the sky.
You set your camera to auto mode, but sometimes, it doesn’t quite grasp the mood you’re going for.
Here’s where I tell you, don’t fret! This is where exposure compensation gives you the creative control you crave.
Imagine you’re in aperture priority mode, and your camera is metering the scene.
However, the sunset’s glow might fool your camera’s sensors, making it think the scene is brighter than it is.
This is where you, the artist, step in. You can dial in positive exposure compensation, telling your camera, “Hey, I want this scene a bit brighter than you think.”
It’s like conversing with your camera, guiding it to capture the essence of that breathtaking sunset.
Conversely, if you find yourself in a snowy landscape, and your camera tends to make the snow look more gray than pristine white, you can dial in negative exposure compensation.
You’re saying, “Hey, camera, it’s snowy out here, tone it down a bit.” And voila, you get that crisp, white snow you were envisioning.
Personal experience:
Early in my photography journey, I was frustrated with inconsistent results, especially during golden hour.
My camera’s auto mode couldn’t grasp the warmth and richness of the sunlight.
That’s when a seasoned photographer buddy introduced me to exposure compensation. It was a revelation!
I started experimenting with it, playing around with different settings, and suddenly, my photos began reflecting the emotions I felt in those moments.
The golden hour became my playground, and exposure compensation became my trusted ally. Fast forward, and I can confidently say it has transformed my photography.
So, fellow shutterbugs, don’t shy away from exposure compensation.
Embrace it as your ally in the quest for that perfect shot. It’s not a complicated tool; think of it as your artistic voice guiding your camera to capture the world as you see it.
Exposure Compensation with Advanced Metering Systems:
If you’re starting your photography journey, this topic can elevate your skills and give you more control over your shots.
Now, I remember when I first dipped my toes into the vast ocean of photography, exposure compensation sounded like a complicated term from a tech manual.
But fear not, my friends, because I’m here to simplify it for you.
So, what’s exposure compensation, you ask?
Well, let’s imagine you’re in a situation where your camera’s metering system might be a tad confused – maybe a bright background is causing your subject to appear too dark, or vice versa.
This is where exposure compensation becomes your trusty sidekick.
Imagine: you’re out there, capturing a breathtaking sunset, and the colors explode across the sky.
Your camera, being the intelligent gadget it is, might try to balance the exposure for the entire scene, but that could leave your subject looking like a silhouette.
Here’s where you step in, take control, and tell your camera, “Hey, I want to brighten things up a bit!”
In my early days, I was timid about tinkering with exposure compensation. I thought, “What if I mess up the settings?” But let me tell you, my friends, this fear was unfounded.
It’s like having a manual override button for your camera’s exposure settings – you decide how bright or dark you want your image to be.
Now, let’s get down to the nitty-gritty.
Most modern cameras have advanced metering systems that do a fantastic job of analyzing the scene and setting the exposure.
However, they’re not infallible. That’s where your creative input comes into play.
The camera might get confused when shooting in tricky lighting conditions, like a backlit scene.
That’s when you, the savvy photographer, can dial in some positive exposure compensation to brighten up the main subject.
Conversely, if you capture a snowy landscape and your camera is tempted to overexpose, a touch of negative exposure compensation will bring back those crisp whites.
In my experience, I’ve found that experimenting with exposure compensation is like adding your personal touch to a photograph. It’s not about blindly following the camera’s recommendations; it’s about expressing your artistic vision.

I am a Professional and Certified Digital Photographer born in the USA. I have been in this field of photography for 22 years, and in these years, I have used many photography lenses and Cameras, which I want to share here on this website about my experience. The idea for Bestoflens.com is to provide honest information about different Lenses and Camera products in the format of a “Best lenses for AYZ” list. I want this website to be the last destination for people to pick the best Cameras and lenses to fit their needs. You can find our unbiased reviews here on Bestoflens.