
Last Updated on September 9, 2023 by Sharon Advik
I am a free-style vlogger, which means I share my daily routines, the places I visit, and everything I do over time on social media.
I was one of those successful vloggers who knew how to keep their audience and retain their interest in vlogs for a long time.
I also love to travel to different countries with my family, and that vlog always gets the highest views.
My wife’s birthday was coming, and I wanted to surprise her with a trip to France.
France, the land of love, is a remarkable destination to celebrate life and what you are thankful for.
I wanted this vlog to be the best of my work as I wanted to put romance, drama, and aesthetics in the vlog.
I have always been keen on the quality of my vlogs, and I knew a modern device could only achieve a good video.
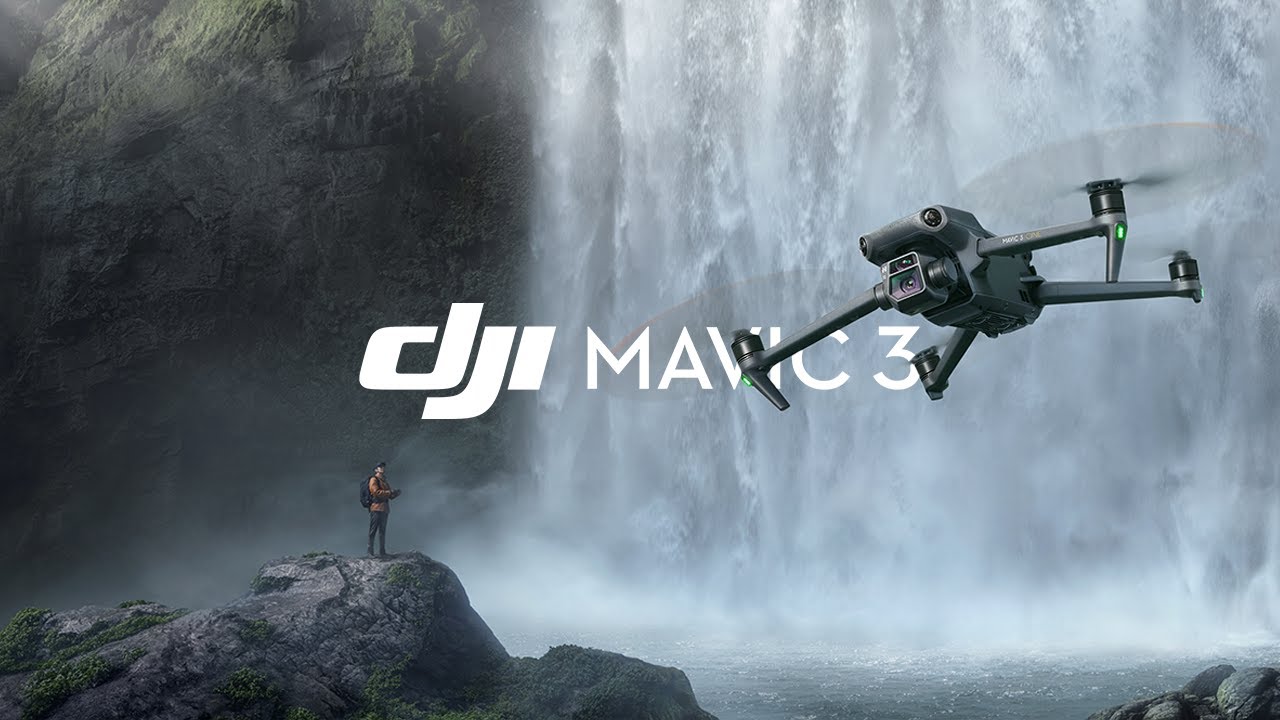
Considering my needs, I purchased DJI MAVIC 3 CINE PREMIUM as soon as it was launched.
I remember I was at my friend’s place, and we were evaluating some of the latest devices for his blogs when I realized CINE was the one I wanted.
It is a phenomenal drone camera in every way possible for high-end vlogging and aerial photography.
DJI MAVIC 3 CINE PREMIUM REVIEW:
Opting for Cine
DJI Mavic 3 series is a blend of quality and reliability, but Cine unleashes possibilities far from the limits of a standard drone.
I could have gone for the standard Mavic 3, but the Cine model brought me the fidelity I was looking for.
The drone is the distinctive manufacturer that represents what DJI is capable of.
With the expensive outlook and the mate grayish finish to make it look more professional, the drone carries a dual camera system.
The Hasselblad camera and the telephoto assistant can make the image quality exceptional in the ordinary industry.
Technical specifications
Aircraft
Takeoff weight: 899g
Dimensions: Folded: 221*96*90.3
Diagonal length: 380.1mm
Ascent Speed: 6 m/s
Descent speed: 6m/s
Flight speed: 5m/s ( C mode)
Max flight time: 46 min
Max hovering time: 40 min
Max Flight Distance: 30 KM
Camera ( Hasselblad)
Sensor: 4/3 CMOS
Effective Pixels: 20 MP
Lens: Aperture: f/2.8-f/f11
ISO range: 100-6400
Shutter speed: 8-1/8000s
Video resolution: 5.1k/DCI4k/4k
Camera( telephoto)
Sensor: ½-inch CMOS
Shutter speed: 2-1/8000s
Lens: Aperture, f/4.4
ISO range: 100-6400
Video resolution: 4k/FHD
Others:
Stabilization: 3-axis
Sensing system: Omnidirectional
Battery: 5000 mAh
Storage: 1 TB
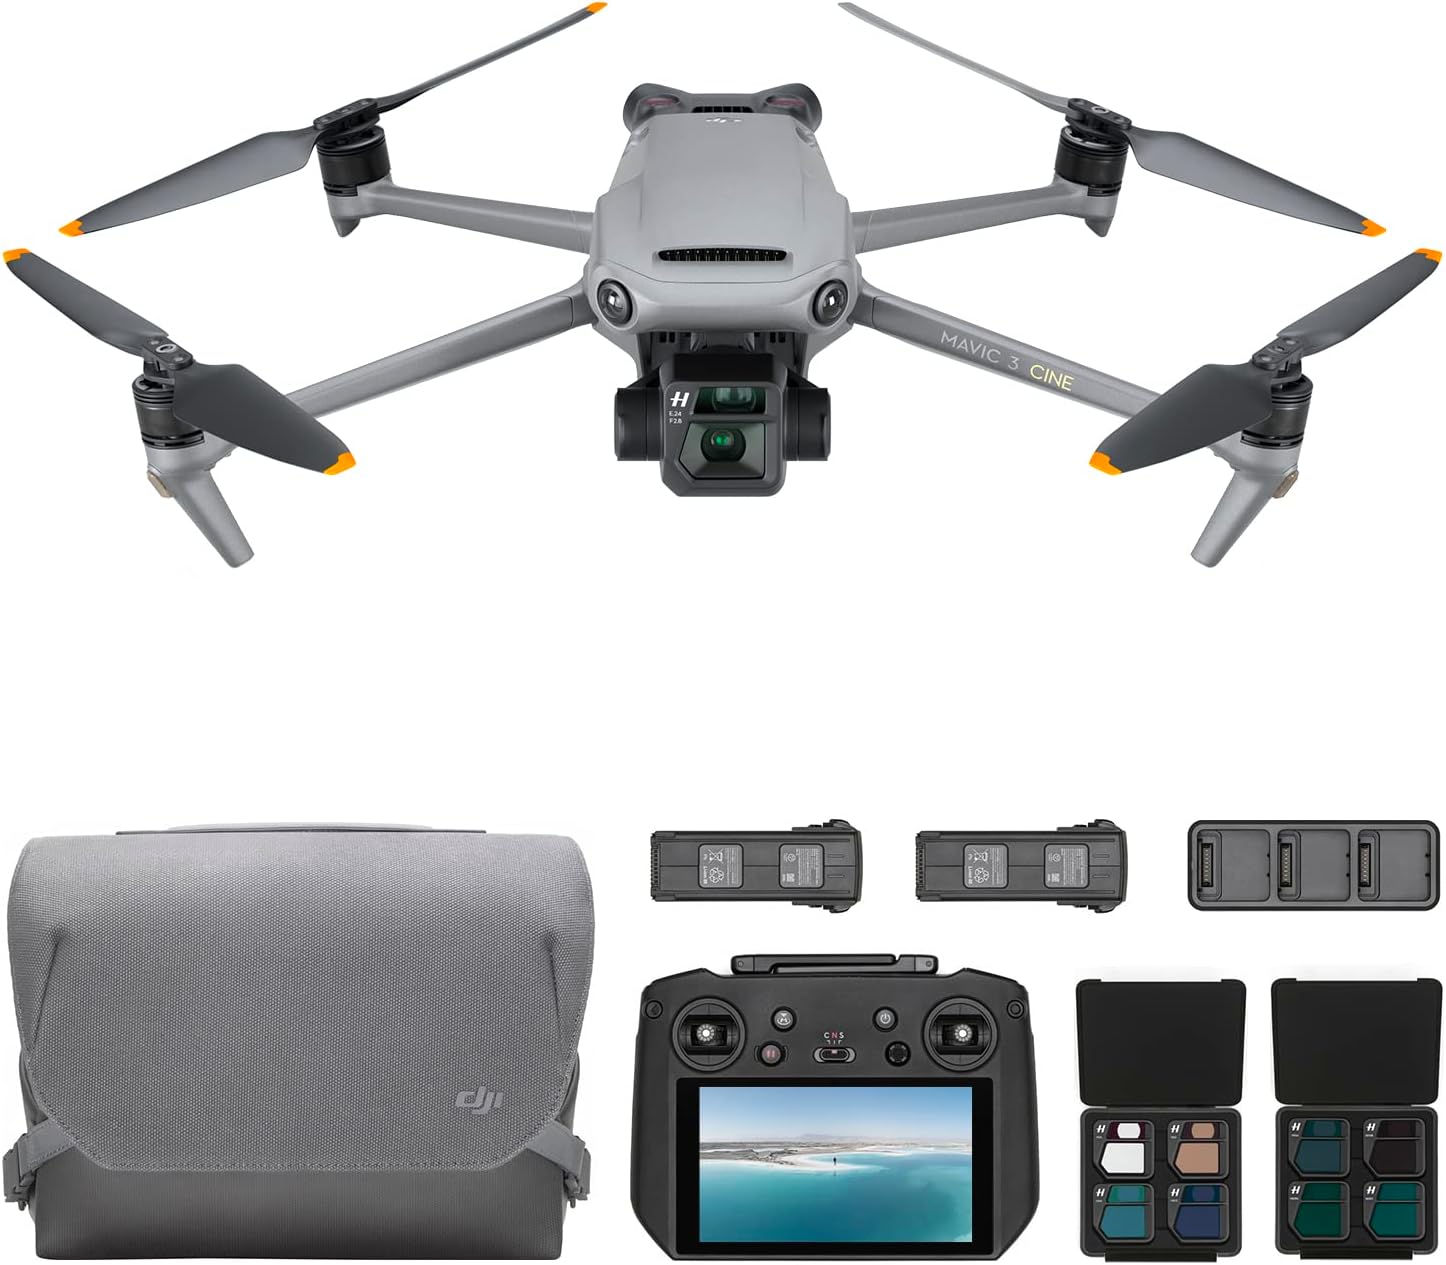
Premium Combo
Many varieties of Mavic 3 offers include Standard, Fly More Combo, or Cine Premium Combo. You can choose any of these, but remember, it gets upgraded from standard to premium in specs and money.
I wanted my drone to be edgier, so I got my hands on the Cine Premium Combo.
With premium Combo, you will get a Cine drone, two extra batteries, a three-battery charger, two extra propellers, and a set of neutral density filters.
In addition to these, the Cine comes with an upgraded DJI PC Pro remote with a built-in display, one of the reasons I spent the extra money to get my hands on a more efficient remote and spare myself from the hectic mobile connections.
Some of you may also be excited about the 1 TB storage and USB-C and Thunderbolt 3 connections to back up more high-quality videos.
Cine, the design
The basic design of Cine is no different than the Mavic.
Both come in the same color and material; when I first saw Cine, I thought it was the same Mavic 3 standard my friend used to have, but then seeing the Cine written on the body made me realize the difference.
I folded the drone to fit into the bag with the premium Combo at the dimensions of 221*96.3*90.3 mm and a takeoff weight of 899 g.
The camera is portable; it will fit well if you want to carry it separately in your backpack.
I carried the whole case in my suitcase because I was going on a 15-day trip so I wanted to have all the accessories with me.
The flight
When I first took off my drone in the air at the Camargue Salt Flats, I wanted an aerial shot of the pastel and milky color waters to add to the preview of my vlog because it somehow feels like love.
The drone ascended at 6m/s, which is a good speed, while the settings were in N mode.
You can get the ascent speed of 8 m/s in S mode if you need the speed.
During my shooting stay, I got the maximum flight speed of 15m/s at N-mode, but one time, when I wanted it to be faster while I was having a romantic lunch at the edge of Falaises d’ Etretat, the iconic chalk cliffs, I set the drone at Sport Mode.
I asked my friend to take a shot from the ocean towards us; the drone gave a speed of 21 m/s at this mode.
Flight time is a vlogger’s dream feature to keep the workflow constant, especially when the time is a stretch.
I got 46 minutes of flight time with Cine per battery, and it’s the most drones these days can offer.
However, remember that you can only get a full 46-minute flight without wind or a very low blow.
One time, I was in Chamonix Mont-Blanc, high on the mountains, and the weather was relatively windier.
I got 39 minutes of flight, which is still pretty impressive.
Summarising my flight experience with Cine, I can say that it’s one of the faster, swifter, and more stable drones.
The Return To Home feature of the drone has also been given a new touch of intelligence with an improved ability to come back.
I got the drone back when I ended the flight, but by the route I was anticipating.
The drone can now come home by choosing a safe and efficient route with advanced RTH technology, a more reliable approach.
Remote control
Upgrading from a standard Mavic to a Cine will allow you to use a DJI RC Pro remote.
It has many fantastic integrations to smooth the piloting experience, but I mostly liked the display.
One of the reasons I wouldn’t say I like remotes that have to be connected to mobile phones is a sluggish interface and extra time to set up.
A built-in screen can save you time, but you must spend extra to get the taste of effortlessness.
The remorse is very convenient, with an ergonomic grip and maneuverable controls.
The metal joysticks feel sleek while piloting, but the screen is a terrific inclusion.
Even on sunny days of shooting in Mont-Blanc’s vicinity, I got 1000 nits of brightness and a clear screen.
You can increase the brightness further in brighter situations, but it might drain the battery quickly.
The remote controller can give you 3-5 hours of lifespan depending on the usage and screen brightness.
At the max, I was able to cross the 3.5-hour margin.
Another thing I noticed while using the controller is its ability to transmit a live feed at Full HD in 60 fps, and there wasn’t a time when I felt any glitch in its run.
Furthermore, suppose you are a professional cinematographer considering buying a Mavic range. In that case, you must go for the Cine model as the DJI RC Pro also has the ProRes HQ feature further enabled by HDMI output, parent on the remote.
Dual cameras:
The Hasselblad
The first thing you will notice on the drone is its dual camera system hinged at the front.
The primary camera is a Hasselblad Natural Color Solution.
The Hasselblad L2D-20c camera is a perfect integration to enhance image quality.
The 4/3 CMOS sensor and a 12.8-stop dynamic range will yield astonishing results.
I have mostly seen a 10-stop dynamic range in very high-end DSLRs, and it’s just a drone.
The 12-stop dynamics ensure you retain more highlights and details of the images to make your work more cinematic.
The camera renders 20 MP of picture quality, and I can not emphasize enough how magnificent the aerial shot of cloud-covered mountains in the Mont-Blanc Alps is.
Another feature that struck me was the flexible aperture of the camera.
The Hasselblad offers an aperture range of f/2.8-f/11, so you get full artistic control over the optical range and can go wild while taking aerial shots.
I am a fan of Natural Color Solution as it can highlight the delicate details of the photos and retain the vividness of the colors in an awe-inspiring way.
Regarding video quality, Hasselblad is light years ahead of imagination.
I bought this camera because of its 5.1k video resolution at 50 fps and 4k at 120 fps.
The cinematography of the vlogs came out terrific in every shot I took.
Regarding a creative post-processing option, Mavic Cine does not leave you empty-handed; it instead gives very sophisticated support for Apple ProRes and a 1 TB built-in storage to make the professional workflow possible.
Low-light performance
How can we call it love if we don’t reach the FL tower’s top and capture a wholesome moment?
Well, at first, I was worried the camera would not be able to perform much in the passing sunlight shots as I have seen in many drones, but to my surprise, the ISO handling and low light shots of the camera were incredible.
I shot drone footage of the surroundings of the FL tower when the sun was about to set and clicked some fantastic family photos via the drone at ISO around 1600.
The impressive thing is that the increase in ISO does not introduce noise, so if you are a low-light shooter, it’s a big yes.
Telephoto Camera
The telephoto camera will be used if you want to frame against a standard approach and capture what’s far away.
I used the Telephote camera, but it was only for checking what it could do.
It starts when you enable the “Explore Mode” and enter Zoom.
At first, you will get the zoom on the primary camera, but once you reach a 7x zoom, the system will switch to a telephoto camera, which is a reasonable feature.
The telephoto camera has a ½-inch CMOS sensor and a 12 MP photo resolution.
It also offers a 4k video feature, and I did look fluid when I shot sample clips of my friend’s paragliding.
However, you will notice a specific difference in the quality of both cameras.
Omnidirectional obstacle avoidance
If you plan on getting aerial in an urban area or a near bunch of trees, you can benefit from the Omnidirectional sensors.
The system is present in all directions, looking straight into the eyes of the object trying to crash into your drone.
There are forward, backward, lateral, upward, and downward sensors that are very sensitive and will accurately tell you when the obstacle is near.
Omnidirectional safety was helpful when making vlogs around the FL tower at a low height in Paris.
At one instant, my drone was about to come in contact with a balloon, and I got immediate information about the possible contact on my remote display.
My only problem with this drone was seeing its obstacle avoidance much more effective in low-light scenarios.
However, you will find the terrific inclusion of APAS 5.0 in the safety system of Mavic 3 Cine.
This technology enables the drone to sense the object from a much further distance and try to adjust the direction on its own.
It’s like a little intelligent robot trying to have a safe flight amidst all the fuss.
ActiveTrack
As I mentioned, I wanted my shots to be as dramatic as possible, and ActiveTrack was one of the features that vouched for that.
The ActiveTrack feature of this drone is even more streamlined than you will see in other DJI drones.
It quickly locks the subject when you draw a box around it through the remote’s screen, keeps it in the frame, and lets you capture shots from various angles.
I used it to take some candid clicks of my wife for a memorable photo series.
Occosync 3+
One of the new features introduced on Mavic 3 Cine is O3+.
The company promotes that the transmission range of 15 km is attainable, which I think is an exaggeration because no one is going beyond the legal range.
However, this new technology is a real treat in stabilizing the signals and keeping the feed unrestricted, even when my drone would go beyond buildings and trees.
Pros & Cons
Conclusion
The aerial image-making community foresaw the DJI Mavic 3 Cine Premium combo, and it did satisfy its consumers.
The Cine did not come short in any of its upgrades, whether it’s the 5.1k or 4k video quality, the realistic visualization of the Hasselblad camera, or 46 minutes of flight time.
Moreover, the drone was built to be steady in the air for a long time because a 46-minute flight is not for fragile aerial image makers as there are many factors to tackle when up in the sky.
The piloting experience of the camera was another delight with an RC Pro’s display.
The built-in screen can become a selling point for Cine Three over its siblings, Mavic Standard and Fly More.
However, if you can compromise the ProRes and the ease of piloting, you can choose the other two options.
Cine will cost a lot of money, but I recommend the expenditure if you are seeking a professional drone camera.
Click here to buy
Related posts: